Don't listen to the advice out there that tells you to
waste an entire weekend backup, delete, create a
new (and bigger!) partition, then restore when you want to
resize your Boot Camp partition. There is a much easier way: iPartition.
Ordinarily I probably would have skipped writing this post. But there's so much of the bad advice out there that I thought I'd post this in hopes that it will save someone the hassle of the ridiculous process described above.
iPartition is not the most user friendly of applications I've used on a platform known for "just working",
but it does get the job done.
For instance, when I opened up iPartition for the first time, there was no indication of what to do. I couldn't figure
out how to resize the partition. Well, it turns out that a tiny warning told me: I just
had to find it first:
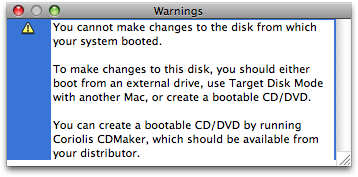
Now I need to find a CD and create a bootable disk. Ok, pop it in to create one, and...
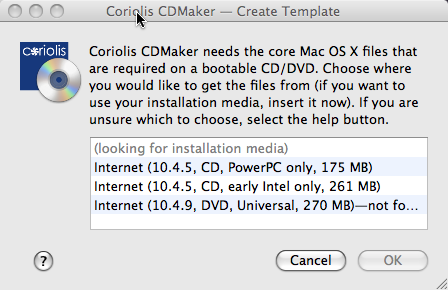
Uh oh! I've got Leopard, version 10.5. Well, now I have to take
my laptop home and use the Leopard DVD.
But it didn't tell me I'd still need to burn something. That's ok, I've got blank CDs at home. Unfortunately,
it didn't say I'd need DVDs either. I didn't bring one from the office, so I had to trek up to the store.
No problem. I figured I'd need to defrag the drive anyway, since it would need to make sure nothing gets
overwritten at the end of the drive when we resize it. So, I'll start the defrag while I go out and
get a blank DVD.
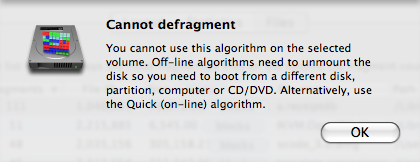
Ugh. Ok, here are the algorithms:
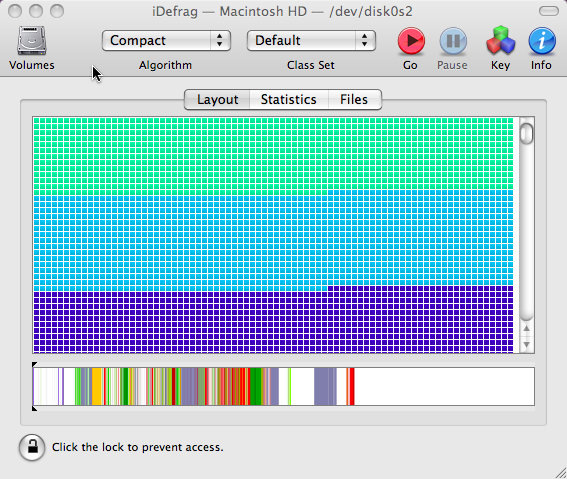
But the one it says I need isn't available:
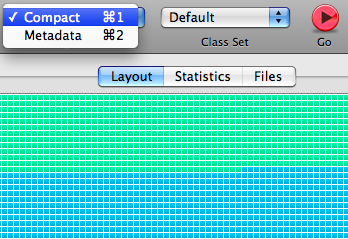
Oh well. I guess I'll go to the store and do the defrag after I create the disk. Thirty minutes later,
I'm well on
my way to resizing partition bliss:

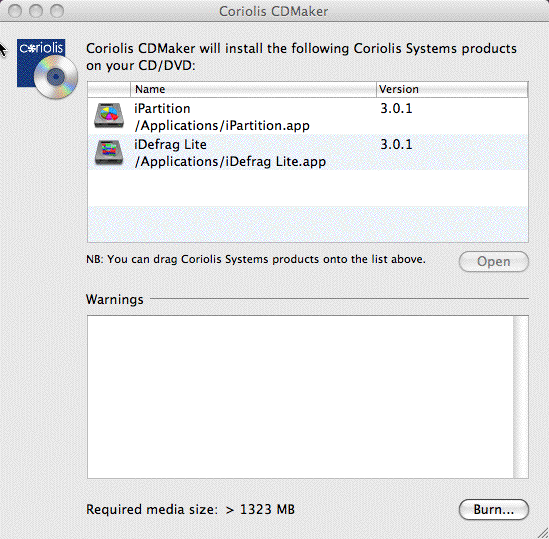
Only one more hiccup:
How was I supposed to know what to do or that it was done?
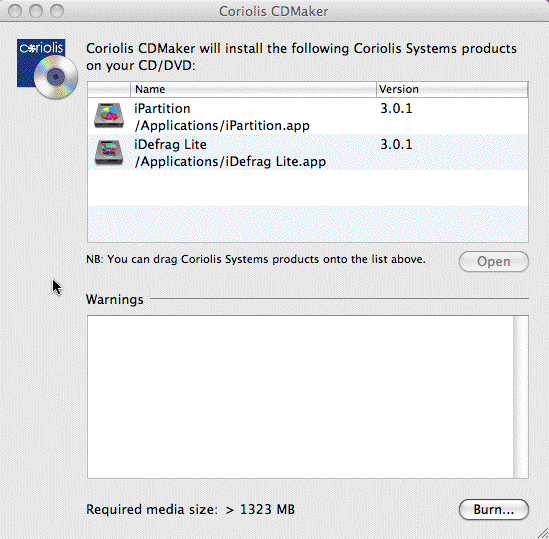
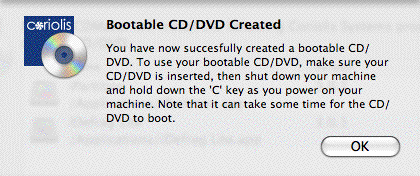
Oh, there you are!
iPartition wasn't the only program that gave me trouble during this process. After seeing the
beachball of doom, Firefox decided it
couldn't handle the pain:
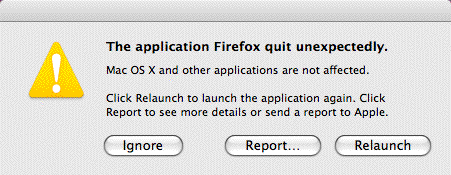
After I got past all the distractions, the actual defrag process and resizing partitions went really smoothly.
Even with all the trouble, I'd estimate it took about 3 hours from start to done. Without the trouble,
perhaps only 1.5 hours: and most of that you don't have to be present for - just start it and go lay down to
nurse your Saturday Morning Hangover with some Gatorade, beans on toast with fried eggs, and Saturday morning
cartoons.
It may cost $50, but it's well worth it. Likewise, it might have given me a lesson in how not to design the flow of an application, but most importantly,
it saved me a weekend.
Hey! Why don't you make your life easier and subscribe to the full post
or short blurb RSS feed? I'm so confident you'll love my smelly pasta plate
wisdom that I'm offering a no-strings-attached, lifetime money back guarantee!
If you follow
me on twitter, you already know I ran into some trouble compiling Ruby and OpenSSL the other day. Calling it "Some Trouble" might be a bit of an understatement. The next morning, I likened it to this title bout:

Not only was Ruby and OpenSSL giving me trouble, in my quest to get it working, I totally messed up
everything that depended on OpenSSL.
More...
Email with TLS? Gone. SSH? Yep, gone as well.
Tech support's first recommendation was to requisition a new server.
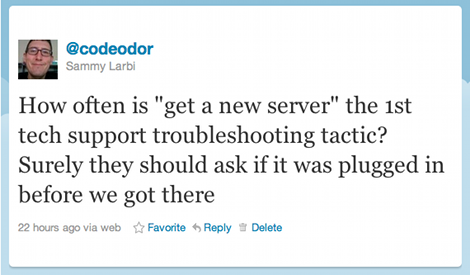
Of course I wasn't going to accept that for an answer -- I'm the guy who, when someone tells me something is impossible, I cannot help but find a way to do it.
It turned out that all I had done was mess up the configuration of where dynamically linked code looks for the shared libraries it's supposed to use.
You can avoid that:
- Don't mess with the LD_LIBRARY_PATH environment variable in a way that makes it persist longer or outside the scope of your compilation. For example,
export LD_LIBRARY_PATH=/path/to/non_standard_lib would be a bad line all on it's own. It would be worse to stick it in your .bash_profile. Just run it on the same line where you do you configuring or compilation, and don't let it persist outside of that.
-
If there is a setting like the
crle command on Solaris, make sure you read the man pages. For example, there's no way to simply add a library path -- you need to include the default ones yourself (if you still wish to use the default paths). So make sure you write them down correctly. In the end, I didn't write them down correctly, so all that was needed to get the system back to working the way it was, was to delete the ld.config file (which sets the system back to default).
What other ways can you mess it up? (Let me know in the comments!)
Anyway, along this journey I got to use
ldd, the command line tool I've always wanted on Mac when I had problems with gems being unable to compile their native extensions. For the Mac, you can use
otool.
Basically, they tell you which libraries a compiled piece of code is dependent on, and where it is looking for those libraries on disk. In the case of
ldd you can use the -r option
ldd -r /path/to/binary which will let you know what symbols can't be found, which was helpful in diagnosing some of my issue.
I just wanted to let you know about these useful tools in case you were unaware. Being able to check the dependencies got me out of a tight spot, so maybe it will help you in the future as well.
Yesterday I got sick of typing
rake test and
rake db:migrate and being told
You have already activated rake 0.9.2, but your Gemfile requires rake 0.8.7. Consider using bundle exec.
I know you should always run
bundle exec, but my unconscious memory has not caught up with my conscious one on that aspect, so I always forget to run
rake under
bundle exec.
So
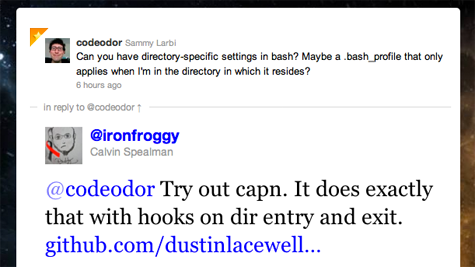
I wondered aloud on twitter if I could just alias
rake to
bundle exec rake, but confine that setting to specific directories (with bash being my shell).
Turns out, it is possible with the help of another tool that
Calvin Spealman pointed me towards:
capn.
More...
To successfully run the commands I've listed below, you need to have
python and
homebrew already installed. If you already have
libyaml installed or have another way of getting it, there's no need for homebrew.
The section beginning with the line that starts out with
echo and ending with
-unalias rake"... creates the capn config file. It's just YAML, so if you'd rather create it with a text editor, you can surely do so. See the
capn project for details on the config possibilities.
Either way, you'll want to change the paths I've used to the places
you want to do the aliasing.
From the terminal, run the following commands:
curl -O http://python-distribute.org/distribute_setup.py
sudo python distribute_setup.py
sudo easy_install pip
sudo brew install libyaml
sudo easy_install -U pyyaml
sudo pip install capn
echo "
settings:
default_type: path
hooks:
- path: ~/workspace #change this to the path where you want to alias rake
type: tree # if you don't want the whole tree under the path above, remove this line
enter:
- echo aliasing rake to 'bundle exec rake'
- alias rake='bundle exec rake'
exit:
- echo unaliasing rake from 'bundle exec rake'
- unalias rake" > ~/.capnhooks
source capn # put this line in your .bash_profile if you want capn to work when you enter the shell
# to deactivate the hooks, use: unhook
Enjoy the silence now that you don't have to hear the whining.
Logging Good Ideas Without Interrupting Your Flow Recently I decided I'd start using a wiki to manage knowledge and ideas, adding
research and thoughts as I flushed them out over time. I'd like to see
how the things I think about are interrelated, and I think using a wiki is going
to help me on that front.
One problem I've had with the traditional to-do list, emails, calendars, and wikis
was that when you open the whole thing up, you can pretty easily get distracted
from what you were doing by all of the information that floods your brain: all the emails in your inbox (especially the bold ones), the rest of the to-do list, tomorrow's events, and -- well everyone knows the time-sink a wiki can be.
More...
Fighting it yourself requires a lot of discipline, so so as a backup in combat, I thought I'd figure out how to
automate some simple actions through Quicksilver.
More specifically, this post might be entitled "Automating MediaWiki additions with Ruby and Quicksilver."
I intend to do similar things for the other applications I mentioned above, but this one is specific
to
MediaWiki
(For those who are unaware, MediaWiki runs the Wikimedia properties, including Wikipedia).
Automating this stuff turns out to be surprisingly simple. My original idea was to have a section
on the Main_Page of my wiki called "Free Floaters" that would be a simple list of one-line ideas
to be flushed out later. However, I ran into some trouble trying to edit it, so I ended up
just giving it its own page. (Therefore, if you know how it might be accomplished, let me know in a
comment!)
All you need to do is drop the following Ruby script
(edited to your requirements -- I've annotated the lines you'll need to change) in
~/Library/Application Support/Quicksilver/Actions in your MacOS install.
Wiki.rb (placed in ~/Library/Application Support/Quicksilver/Actions -- be sure to
chmod -x Wiki.rb)
#!/opt/local/bin/ruby # change to your ruby path - run "which ruby" from command line to find it
require 'net/http'
require 'yaml'
require 'cgi'

def urlify(hash)
  result = ""
  hash.keys.each do |k|
    result += k + "=" + hash[k]
    result += "&" if k != hash.keys[-1]

  end
  return result
end

url = URI.parse('http://example.com/wiki/api.php') # change to your wiki url

params = {
    'action' => 'login',
    'lgname' => 'your_username', # change to your wiki username

    'lgpassword' => 'your_password', # change to your wiki password
    'format' => 'yaml'
  }


browser = Net::HTTP.new(url.host, url.port)

sign_in = browser.post(url.path, urlify(params))

cookie = sign_in.response['set-cookie']

headers = { 'Cookie' => cookie }

params = {

    'action' => 'query',
    'prop' => 'info',
    'intoken' => 'edit',
    'titles' => 'Page_Title_To_Edit', # change to the page you want to edit

    'format' => 'yaml'
}


edit_token = browser.post(url.path, urlify(params), headers)

edit_token = YAML::parse(edit_token.body)['query']['pages'][0]['edittoken'].value

params = {

    'action' => 'edit',
    'title' => 'Page_Title_To_Edit', # change to the page you want to edit
    'token' => CGI::escape(edit_token),
    'minor' => 'true',
    'appendtext' => "%0A*" + ARGV.join(" "), #This adds a new list item, feel free to modify the markup to your liking

    'format' => 'yaml'
}


addition = browser.post(url.path, urlify(params), headers)
Then restart Quicksilver. From the command line:
$ killall Quicksilver
$ open /Applications/Quicksilver.app
Now, when you open Quicksilver, type "." to enter text, tab to the action and type "wiki" (or the file name if
you decide to change it), then hit enter to run it. Quicksilver passed what you typed to the script arguments,
and the script sends it up to your wiki.
Any thoughts? What would you change? What else in this vein would you like to see?